Easy Crochet Winter Hat: Free Beginner Pattern & Tutorial
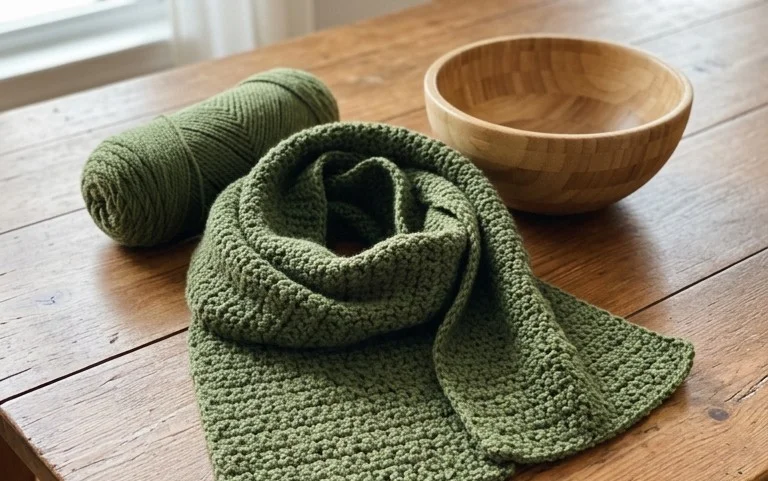
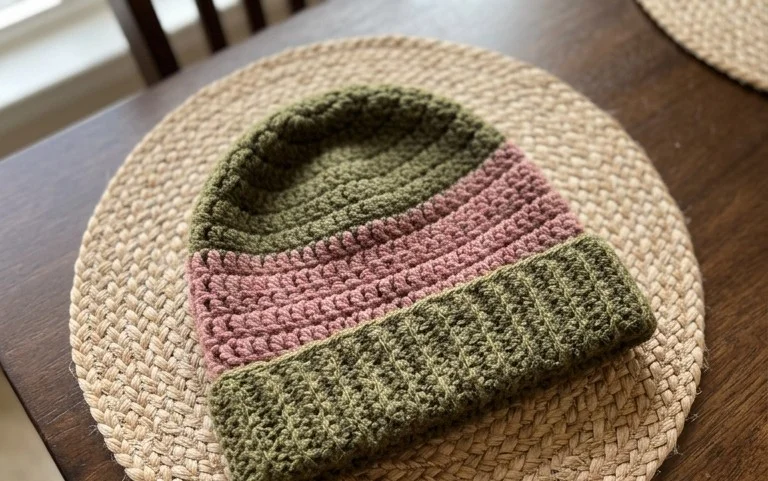
This beanie feels like a thick woolen hug, with deep ridges that trap heat against your ears during a chilly morning commute. The fabric is dense and bouncy, created by working exclusively into the back loops of each stitch to form a clean, professional aesthetic without any difficult construction. Beginners find this project especially rewarding because it bypasses the frustration of circular shaping or complicated increases. You will finish this hat in a single sitting while relaxing on your couch. This simple rectangle method produces a cozy, classic accessory that makes a thoughtful, handmade gift for friends and family during the colder months.
Why You’ll Love This Pattern
This crochet ribbed beanie pattern utilizes a simple back-loop-only technique that creates a professional, store-bought look with minimal effort. You work the hat as a flat rectangle, which removes the need for complex increases or decreases usually found in crown shaping. It is a highly portable project that requires only one ball of worsted weight yarn, making it an excellent choice for cleaning out your stash or crafting last-minute gifts. The texture remains stretchy and dense, providing significant warmth for autumn and winter days.
I finished this hat in one evening while watching a movie. The ribbed texture is much squishier and warmer than my previous attempts at beanies. It fit perfectly on the first try without any awkward bunching at the top.
— Sarah, beginner crocheter
Pattern Overview & Skill Level
- Skill Level: Beginner
- Approximate Time: 3 to 4 hours
- Construction: Worked flat in rows, then seamed at the side and gathered at the top
- Finished Dimensions & Sizing: 8 inches wide by 9 inches tall (flat, unstretched), fits most adult heads
Materials & Supplies Needed
- Yarn: Worsted #4 weight, wool or acrylic blend, approximately 200 yards
- Hook Size: 5.0 mm (US H-8)
- Notions: Tapestry needle for seaming and weaving ends, locking stitch marker for gauging, scissors
- Safe yarn substitutions: You can use a lighter DK weight yarn, but you will need to increase the starting chain length by 10-15% to maintain the same finished width and size. Avoid bulky #5 yarns as they will create a stiff, heavy fabric that lacks the necessary drape for a comfortable hat.
Stitch Guide & Abbreviations (US Terms)
- ch = chain
- sc = single crochet
- BLO = back loop only (insert hook under the back loop of the stitch only)
- sl st = slip stitch
- st/sts = stitch/stitches
Step-by-Step Pattern Instructions
Main Hat Body
- Row 1: Ch 41. Sc in the second ch from the hook and each ch across. (40 sts)
- Row 2: Ch 1, turn. Work sc in BLO of every st across. (40 sts)
- Rows 3 to 60: Repeat Row 2 until the piece measures approximately 18 inches in length when slightly stretched. (40 sts)
- Fasten off, leaving a 12-inch long yarn tail for seaming the side and closing the crown.
Assembly and Finishing
- Fold the rectangle in half so the short ends touch.
- Using the long tail and your tapestry needle, whip stitch the two short ends together to create a tube.
- Once joined, weave the yarn tail in and out of the stitches along one of the open edges (the crown).
- Pull the yarn tail tight to gather the top of the hat closed. Secure with a knot and weave in the remaining end firmly to prevent the hole from reopening.
Care & Washing Instructions
- Hand wash your finished hat in cool water with a mild wool-safe detergent to maintain the integrity of the stitches.
- Lay the item flat on a clean towel to air dry, reshaping it while damp to ensure the ribbing stays even.
- Avoid wringing or twisting the fabric, as this can permanently stretch the fibers and distort the ribbed pattern.
Pro Tips & Common Mistakes to Avoid
Maintain consistent tension throughout the rows to prevent the rectangle from becoming trapezoidal. If your edges look wobbly, your tension is likely tightening or loosening as you work across the row. Always place a stitch marker in the first stitch of each row to help you identify where to start your next row, which prevents the common error of accidentally dropping a stitch at the end of the row. When weaving in your ends, travel through the back side of the stitches in the opposite direction of the yarn to ensure they stay locked. To adjust the size for a larger head, simply add more rows to the total length before fastening off, keeping in mind that each additional row will add roughly 0.3 inches to the circumference.
Frequently Asked Questions
Can I use cotton yarn for this beanie?
While possible, 100% cotton lacks the natural stretch of wool or acrylic blends. Your hat will likely feel rigid and may lose its shape after several wears. If you must use cotton, try a cotton-acrylic blend for better elasticity.
How do I know if the hat will fit correctly?
Measure your head circumference just above the eyebrows. This hat should be about 2 inches smaller than your head measurement because the ribbing stretches. You can adjust the starting chain count if you need it wider.
Is this pattern suitable for complete beginners?
Yes, this is an ideal first project. It uses only one basic stitch, the single crochet, and requires no complicated shaping or counting beyond the initial row.
Am I allowed to sell hats made from this pattern?
You are welcome to sell items made from this design. I kindly ask that you credit the pattern design to my name on your tags or online shop listings to help support my work.
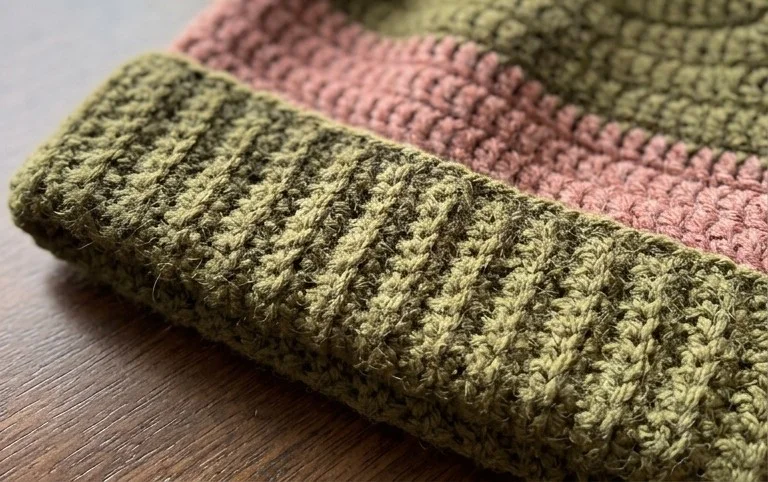
Your finished hat has a beautiful squish and professional finish that makes it feel much more high-end than a basic craft store find. You can personalize your next version by using a variegated yarn to highlight the direction of the ribbing or by adding a large faux fur pom-pom to the crown for extra flair. Posting a photo of your work on Instagram helps other makers find inspiration for their own stash-busting projects. Please visit the rest of the blog to find more beginner-friendly patterns for your winter wardrobe.