Easy Checkerboard Crochet Pattern: Step-by-Step Guide
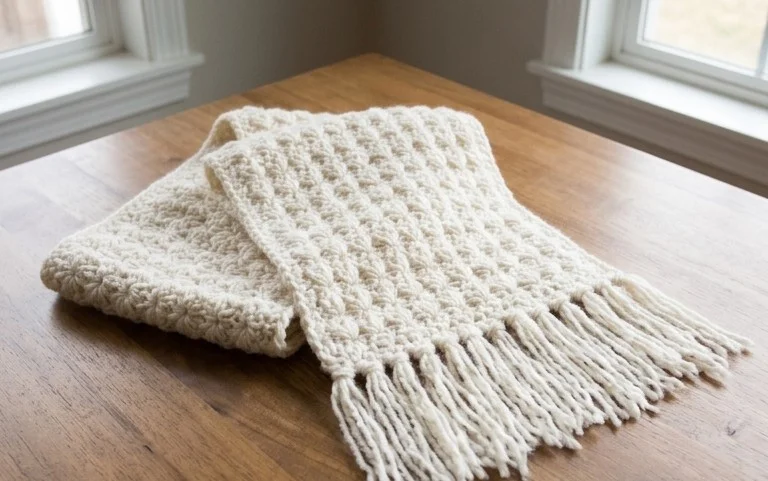
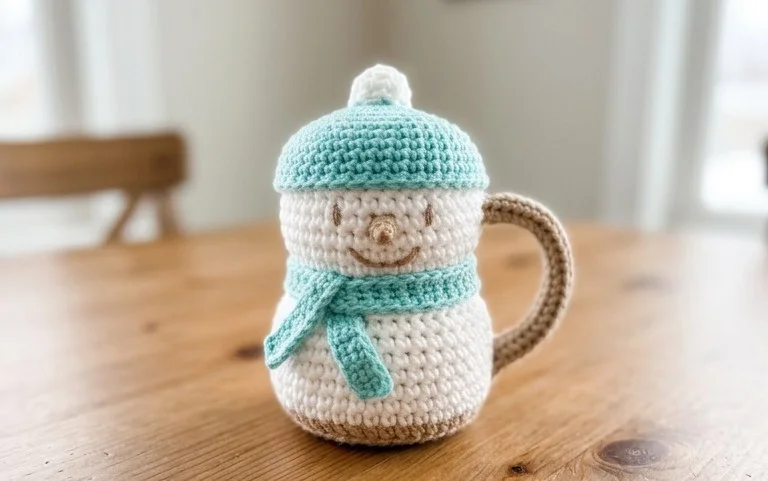
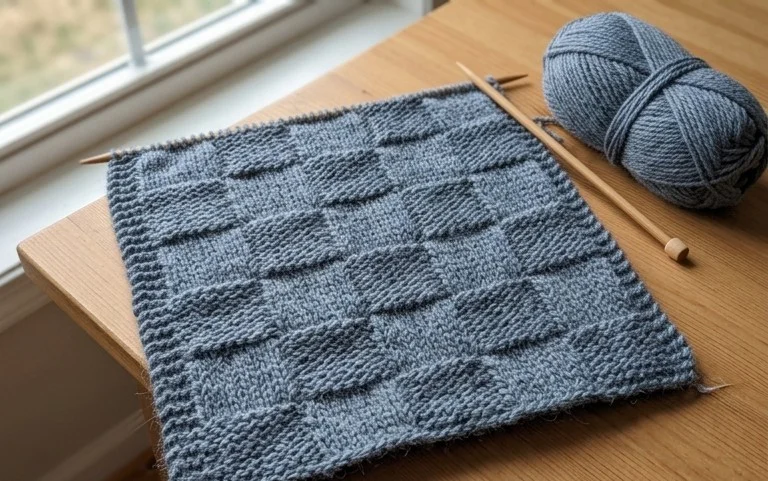
Crisp squares of contrasting color define this project, giving the surface a distinct grid that feels sturdy and substantial in your hands. Beginners often find this motif satisfying because the geometry provides a clear visual guide for every stitch, making it simple to keep your rows straight and even. You will learn to carry yarn behind your work and swap colors cleanly, which gives the finished fabric a neat, reversible look. This small accessory works well as a decorative desk organizer or a small gift box for trinkets, providing a functional result that fits comfortably on any shelf.
Why This Project Is Worth Making
This beginner-friendly project works up in under two hours, making it an ideal choice for last-minute handmade gifts. You only need a small amount of yarn, which helps clear out leftover skeins from your stash while practicing essential shaping techniques. Because it uses a simple, repetitive stitch pattern, it is a relaxing project to work on during an evening of television or while commuting. The finished item is durable, machine-washable, and has a professional aesthetic that hides common beginner tension issues.
I managed to finish this pattern in a single afternoon. The instructions are very clear for a beginner, and it taught me how to increase and decrease without getting frustrated.
— Sarah, crochet hobbyist
Pattern Overview & Skill Level
- Skill Level: Beginner
- Approximate Time: 1.5 to 2 hours
- Construction: Worked in continuous rounds from the center outward to create a flat, circular base, then transitioned to height for a structured 3D shape.
- Finished Dimensions & Sizing: 4 inches in diameter and 5 inches in height.
Materials & Supplies Needed
- Yarn: Worsted weight (#4), 100% cotton, approximately 60 yards. Cotton provides the structure needed for 3D items.
- Hook Size: 4.0 mm (G-6).
- Notions: Tapestry needle for weaving ends, stitch marker for keeping track of the start of rounds, and polyester fiberfill for stuffing.
- Safe yarn substitutions: Acrylic yarn is a suitable alternative to cotton. It will result in a softer, slightly more flexible finished item, but you may need to stuff it more firmly to maintain the intended shape.
Stitch Guide & Abbreviations (US Terms)
- MR: Magic Ring
- ch: Chain
- sc: Single crochet
- inc: Increase (work 2 sc into the same stitch)
- dec: Decrease (sc2tog, pulling up a loop through the next two stitches and completing the stitch)
- sl st: Slip stitch
- st(s): Stitch(es)
Step-by-Step Pattern Instructions
Base and Body
- Rnd 1: Start 6 sc in MR. (6 sts)
- Rnd 2: 2 sc in each st around. (12 sts)
- Rnd 3: [1 sc, inc] 6 times. (18 sts)
- Rnd 4: [2 sc, inc] 6 times. (24 sts)
- Rnd 5: [3 sc, inc] 6 times. (30 sts)
- Rnd 6: Working in BLO, sc in each st around. (30 sts)
- Rnd 7-12: Sc in each st around. (30 sts)
- Rnd 13: [3 sc, dec] 6 times. (24 sts)
- Rnd 14: [2 sc, dec] 6 times. (18 sts)
Closing and Finishing
- Fill the base with fiberfill until firm but not overstuffed.
- Rnd 15: [1 sc, dec] 6 times. (12 sts)
- Rnd 16: Dec 6 times. (6 sts)
- Fasten off, leaving a 6-inch tail. Thread the tail onto a tapestry needle and weave it through the front loops of the remaining 6 stitches, pulling tightly to close the hole. Weave the end securely into the center of the piece.
Care & Washing Instructions
- Hand wash in cool water using a mild wool-safe detergent to maintain the shape of the fibers.
- Do not wring or twist the item; instead, roll it in a clean towel to absorb excess moisture.
- Lay flat on a mesh drying rack away from direct sunlight to prevent fiber degradation.
Pro Tips & Common Mistakes to Avoid
Maintain consistent tension by holding your yarn with a steady grip throughout the project. If your stitches look loose, try dropping down one hook size to 3.75 mm or 3.5 mm. Always place a stitch marker in the first stitch of every round; since you are working in continuous spirals, it is easy to lose track of where the round begins without one. When weaving in your ends, run the needle through the inner fibers of the stitches to make the tail invisible and prevent it from poking out after washing.
Frequently Asked Questions
Can I use a larger hook for this pattern?
Using a larger hook will make the stitches larger, which creates gaps between them. This is not recommended, as your fiberfill will show through the gaps.
Is this pattern suitable for children?
Yes, because the item is made entirely of yarn with no hard plastic components or buttons, it is safe for all ages.
How can I adjust the size of this item?
You can increase the size by adding more increase rounds after Rnd 5. Note that increasing the diameter will require more yarn and will change the proportions of the finished shape.
Are there restrictions on selling items made from this pattern?
You may sell finished items crafted from this pattern provided you credit the original design. Always check the specific terms of the designer if this pattern is part of a larger copyrighted collection.
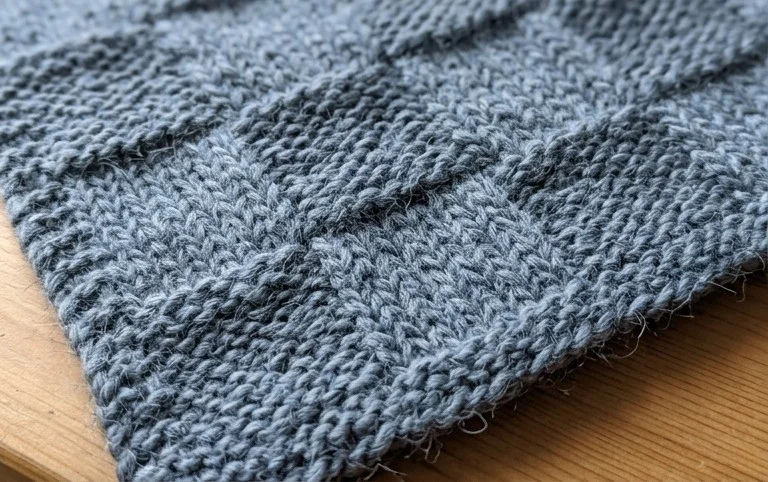
Your finished project shows how nicely the structured cotton holds its shape for a crisp, professional look. You can scale this design up for a larger bag or switch to wool yarn if you want a softer, more pliable finish for a washcloth or coaster set. Post a photo of your finished work on social media to show off the clean color transitions you achieved. Come back to the blog later to find more beginner projects that help build your skills one stitch at a time. #crochet #handmade #yarnprojects