30+ Easy Crochet Christmas Ornaments: Free Patterns
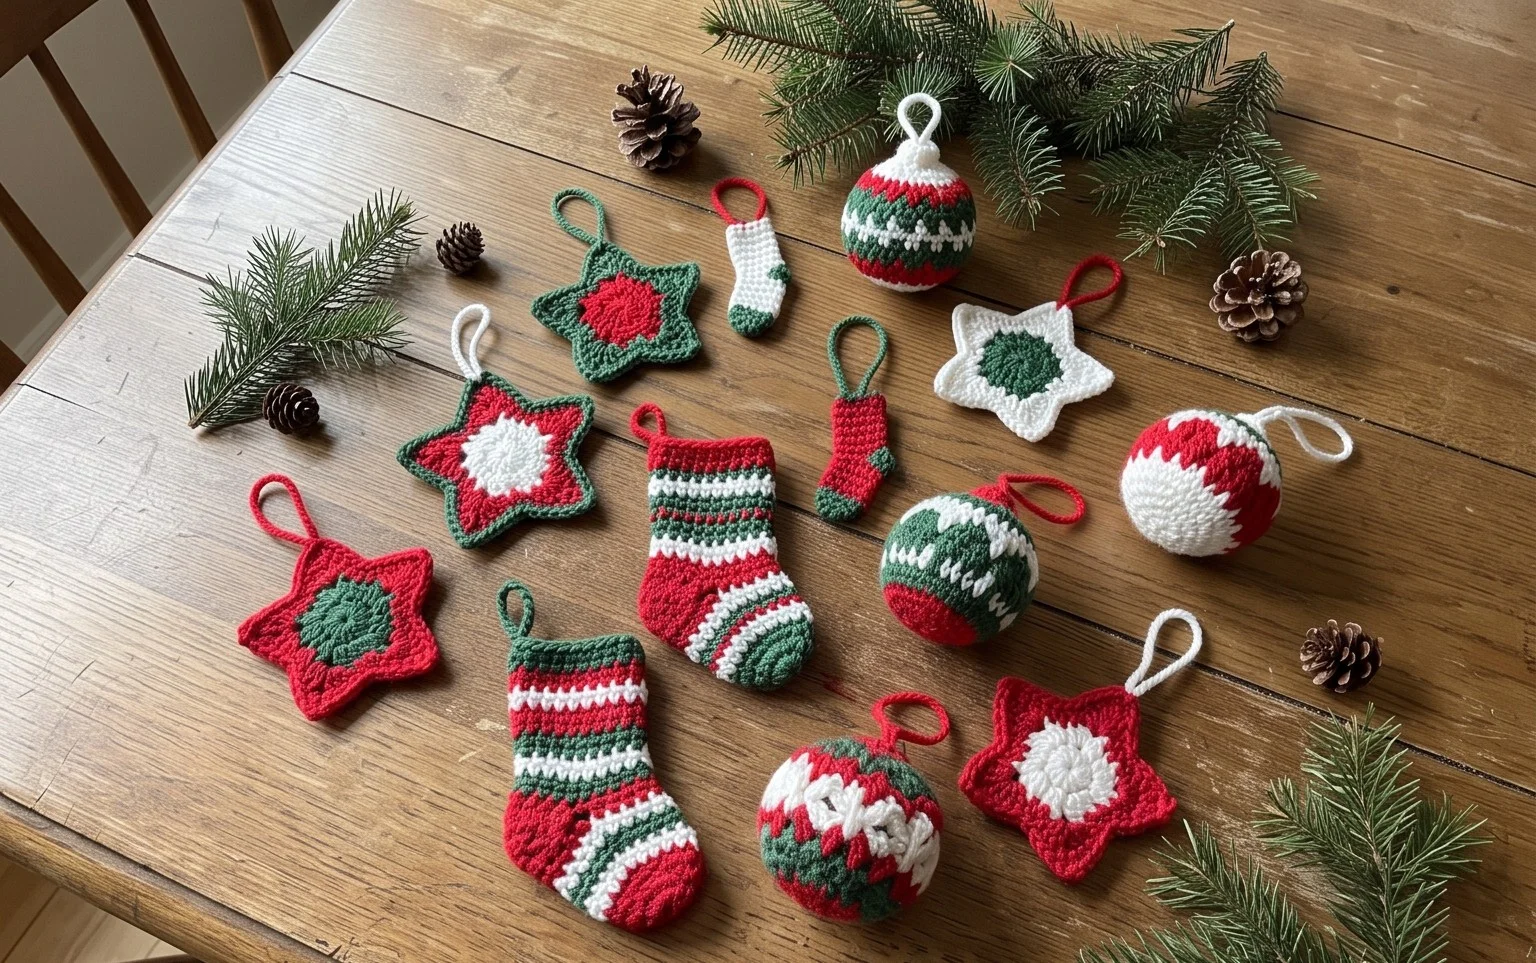
A handmade ornament brings a weight and personality to a tree that store-bought plastic bulbs simply cannot match. Whether you favor crisp white snowflakes, plush velvet-look spheres, or whimsical mini stockings, these projects offer a soothing creative outlet during the busy winter months. Crocheting these small items helps you practice vital skills like shaping, color changes, and reading charts without committing to a massive blanket or sweater. You will find that these patterns are quick to finish, making them meaningful gifts for neighbors or colleagues. By mastering the basic increase and decrease, you gain the confidence to create your own unique holiday heirloom collection.
Why You’ll Love This Pattern
This crochet sphere is the quintessential project for mastering amigurumi techniques, as it relies on a simple, consistent increase and decrease sequence. Because it uses a small amount of yarn, it is an ideal way to use up those leftover balls of cotton or acrylic sitting in your stash. The resulting shape is sturdy enough to hold its form, making it a reliable base for more complex creatures or a simple sensory toy for children. You will find that the rhythm of the constant circular increase becomes meditative after the first few rounds.
I finally learned how to keep my rounds perfectly circular with this tutorial. The instructions are so clear that I finished three in an afternoon without any frustration.
— Sarah, beginner crocheter
Pattern Overview & Skill Level
- Skill Level: Beginner
- Approximate Time: 45 minutes to 1 hour
- Construction: Worked in continuous rounds using a magic ring for a seamless finish
- Finished Dimensions & Sizing: Approximately 3 inches in diameter, depending on yarn weight and hook tension
Materials & Supplies Needed
- Yarn: Worsted weight (#4) cotton or acrylic yarn, approximately 20-30 yards. Cotton provides a crisp stitch definition that works well for toys.
- Hook Size: 3.5 mm (E-4) or 4.0 mm (G-6). Using a hook slightly smaller than the yarn label recommends helps prevent stuffing from showing through the stitches.
- Notions: Tapestry needle for weaving ends, fiberfill stuffing, stitch markers to track the start of rounds, and scissors.
- Safe yarn substitutions: You may use DK weight yarn for a smaller sphere, but ensure you drop down to a 3.0 mm hook to maintain fabric density.
Stitch Guide & Abbreviations (US Terms)
- MR = Magic Ring: A technique for starting circular projects by crocheting into an adjustable loop.
- ch = chain
- sc = single crochet
- inc = increase (make 2 single crochet stitches in the same stitch)
- dec = decrease (insert hook in front loops of next 2 stitches, yarn over, pull through, yarn over and pull through both loops on hook—often called invisible decrease)
- st/sts = stitch/stitches
- sl st = slip stitch
Step-by-Step Pattern Instructions
Sphere Body
Work in continuous rounds without joining at the end of each round. Use a stitch marker to keep track of the first stitch of every round.
- Rnd 1: Start 6 sc in a magic ring (6 sts).
- Rnd 2: Inc in each st around (12 sts).
- Rnd 3: [Inc, 1 sc] repeat 6 times (18 sts).
- Rnd 4: [Inc, 2 sc] repeat 6 times (24 sts).
- Rnd 5: [Inc, 3 sc] repeat 6 times (30 sts).
- Rnds 6–10: Sc in each st around (30 sts).
- Rnd 11: [Dec, 3 sc] repeat 6 times (24 sts).
- Rnd 12: [Dec, 2 sc] repeat 6 times (18 sts).
- Rnd 13: [Dec, 1 sc] repeat 6 times (12 sts). Start filling the sphere with fiberfill now.
- Rnd 14: Dec 6 times (6 sts).
Finishing
Fasten off, leaving a 6-inch tail. Use your tapestry needle to weave the tail through the front loops of the remaining 6 stitches. Pull the thread tight to close the hole completely and knot securely inside the sphere. Push the remaining yarn tail into the center of the stuffing to hide it.
Care & Washing Instructions
- Hand wash your finished item in cool water with a mild detergent to prevent the stuffing from clumping.
- Gently squeeze out excess water with a towel, but do not wring or twist the sphere, as this distorts the shape.
- Lay flat to air dry on a clean surface, and reshape the sphere with your hands while it is still slightly damp.
Pro Tips & Common Mistakes to Avoid
- Maintain consistent tension by holding your yarn with a firm, even grip; loose stitches will allow the fiberfill to poke through.
- Always place a stitch marker in the first stitch of every round to avoid losing your count as the sphere curves.
- When weaving in ends, pass the needle back and forth through the interior of the sphere multiple times to lock the yarn in place.
- If you choose to use thicker or thinner yarn, remember that this will significantly change the final size of your project and will require more or less stuffing accordingly.
Frequently Asked Questions
Can I use a different weight of yarn for this pattern?
Yes, you can use any weight of yarn, but you must adjust your hook size to ensure the fabric remains tight enough that the stuffing does not show. Choose a hook that creates a dense, non-porous surface.
Is this project suitable for a complete beginner?
This is a perfect project for a beginner because it only requires the single crochet stitch and the ability to work in rounds. It teaches the essential concept of increasing and decreasing, which forms the basis of all amigurumi.
What if I don’t have fiberfill stuffing?
You can substitute fiberfill with clean fabric scraps or yarn ends. Be sure to chop these into small pieces to ensure the sphere maintains a smooth, rounded shape rather than a lumpy one.
Am I allowed to sell items I make from this pattern?
You are welcome to sell finished items created from this pattern. However, you should not sell or distribute the pattern itself, as it remains the property of the designer.
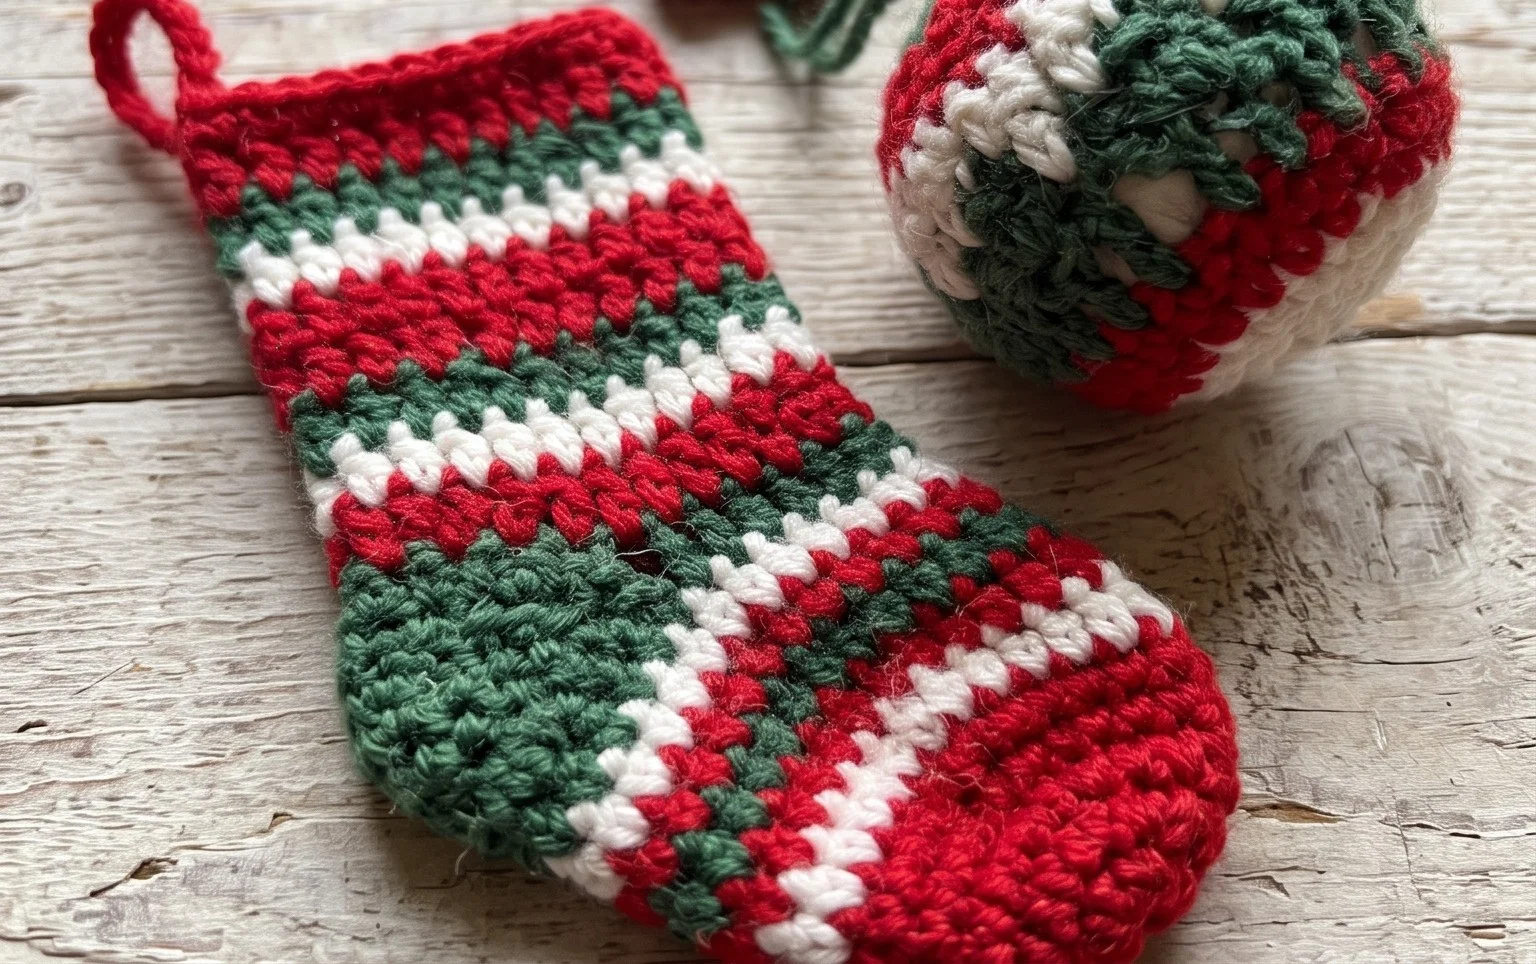
Your finished ornament hangs beautifully on a tree branch, adding a personal touch that lasts for many seasons to come. You might try swapping standard cotton yarn for a glittery metallic thread to give your next batch an extra holiday shimmer. Sharing a photo of your work on Instagram helps other makers find inspiration for their own yarn stash projects. Please explore the rest of our blog for more free patterns that you can build during your next cozy evening of crafting at home.