Easy Beginner Crochet Hat: Free Step-by-Step Pattern
Soft wool against your forehead makes the coldest winter mornings feel much more manageable. This basic beanie project relies on simple back loop stitches to create a stretchy fabric that mimics traditional knitting without the complexity of two needles. Beginners often appreciate how quickly this panel comes together before it gets seamed into a cozy accessory for friends or family. You will learn to control your tension and manage consistent edges while working flat rows that create a professional finish. It is a relaxing way to spend a quiet afternoon while producing a warm staple that you will wear all season long.
Why You’ll Love This Pattern
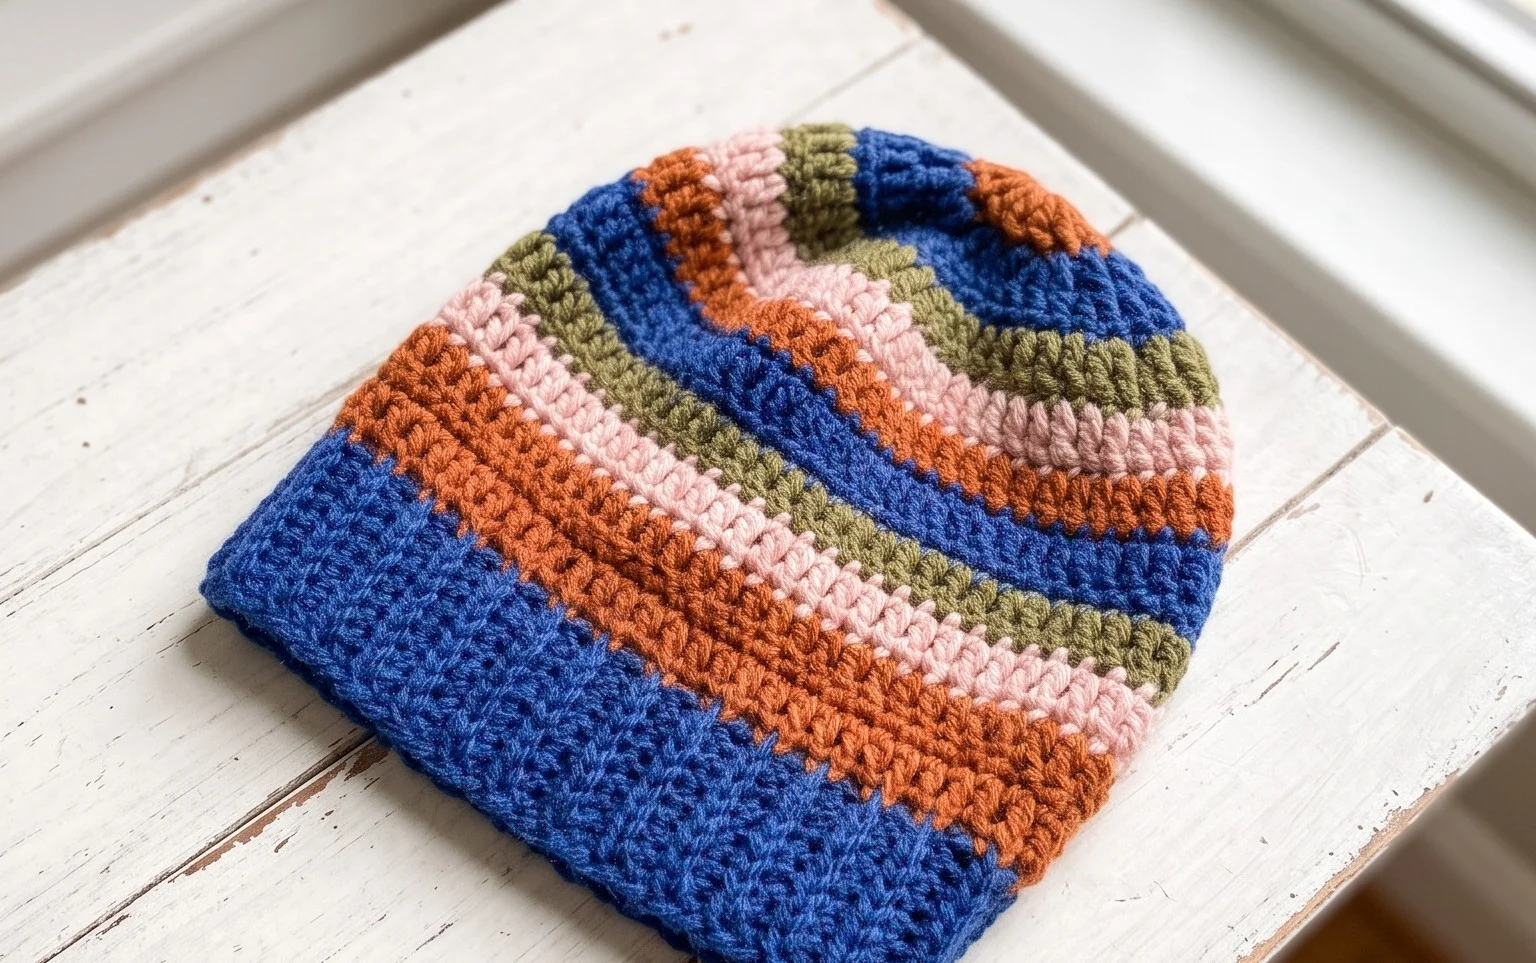
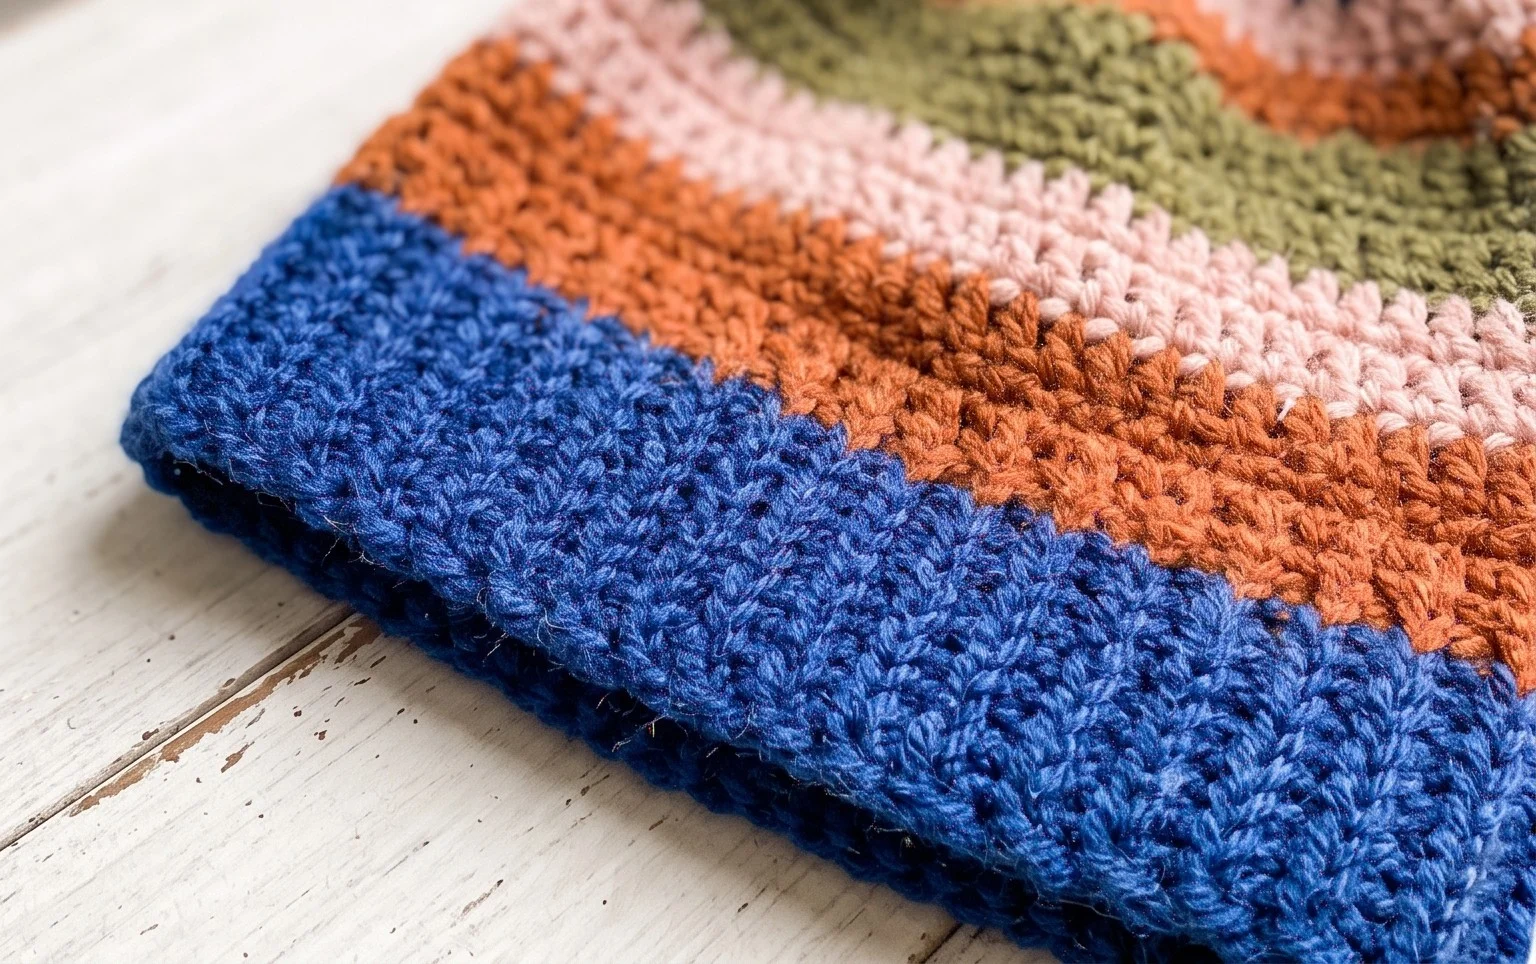
This classic crochet beanie works up quickly using a simple ribbed construction that creates a stretchy, comfortable fit for most adults. The texture is achieved by working exclusively in the back loops, which mimics the appearance of traditional knit fabric while remaining approachable for beginners. Because it uses a medium weight yarn, you can complete this project in a single evening, making it an ideal choice for last-minute handmade gifts. The stitch pattern is repetitive and meditative, allowing you to easily track your progress without needing to constantly check the written instructions.
I finished this hat in one night while watching television. The instructions were very easy to follow and the finished item fits perfectly.
— Sarah, hobbyist crocheter
Pattern Overview & Skill Level
- Skill Level: Beginner
- Approximate Time: 3 to 4 hours
- Construction: Worked flat as a rectangular panel, then seamed and cinched at the top.
- Finished Dimensions: 18 inches circumference (unstretched) by 9 inches tall.
Materials & Supplies Needed
- Yarn: Worsted weight (#4), wool or acrylic blend, approximately 200 yards.
- Hook Size: 5.5 mm / I-9.
- Notions: Yarn needle, locking stitch marker, scissors.
- Safe yarn substitutions: You may use cotton yarn, though it will provide less stretch and warmth than wool. If using a thinner #3 weight yarn, increase your starting chain by 10 stitches to maintain the same dimensions.
Stitch Guide & Abbreviations (US Terms)
- ch: chain
- st(s): stitch(es)
- sc: single crochet
- BLO: back loop only. Insert hook only under the back loop of the stitch from the previous row.
- sl st: slip stitch
- turn: turn your work to the opposite side to begin the next row.
Step-by-Step Pattern Instructions
Main Body Panel
- Row 1: Ch 35. Sc in the second ch from hook and in each ch across. (34 sts)
- Row 2: Ch 1, turn. Work sc in BLO in each st across. (34 sts)
- Rows 3–60: Repeat Row 2 until the piece measures approximately 18 inches when slightly stretched. Do not fasten off.
Assembly and Finishing
- Seaming: Fold the rectangle in half so that the short ends meet. Slip stitch through the BLO of the last row and the starting chain edge simultaneously to join the piece into a tube.
- Closing the Crown: Fasten off, leaving a 12-inch tail of yarn. Thread this tail onto your yarn needle. Weave the needle through the stitches along one open edge of the tube. Pull the tail tightly to gather the top shut.
- Securing: Insert your needle into the center of the cinched hole and pull to the inside of the hat. Tie a secure knot and weave in all remaining ends.
Care & Washing Instructions
- Hand wash in cool water with a gentle wool-safe detergent to maintain the integrity of the fibers.
- Lay the hat flat on a dry towel, reshaping it to its original dimensions, to avoid stretching while drying.
- Avoid using a tumble dryer, as heat can shrink the yarn and distort the ribbed texture of the stitches.
Pro Tips & Common Mistakes to Avoid
Maintain consistent tension throughout the project to ensure the ribbing looks uniform across the entire surface. If your stitches are too tight, the fabric will feel stiff rather than stretchy.
Place a stitch marker in the first stitch of every row to ensure you do not accidentally skip the final stitch, which would cause the edges of your rectangle to become uneven.
Weave your yarn tails in horizontally through the ribs rather than vertically. This hides the tail within the textured loops, making the transition invisible.
Adjust the size of the hat by changing the length of your starting chain. Adding more chains increases the height, while adding more rows increases the circumference.
Frequently Asked Questions
Can I use a larger hook for this pattern?
Yes, using a larger hook will make the fabric drapier and slightly larger, but keep in mind it may also make the stitches look looser and less defined.
Is this pattern suitable for complete beginners?
Absolutely, because it uses only the single crochet stitch and works in a flat rectangle, it is an excellent first project for someone learning to control their tension.
Can I sell the finished hats I make from this pattern?
You are welcome to sell items made from this pattern, provided you credit the source and use your own photographs to represent your work.
Why is my seam showing on the outside?
The seam is designed to be on the inside, but if you notice it is visible on the outside, simply turn the hat inside out before cinching the crown to ensure the smooth side faces outward.
Your new handmade hat provides a satisfying sense of accomplishment once you pull that final drawstring tight and secure the top. Try holding two strands of thinner yarn together to create a chunky, marled appearance that adds extra warmth for sub-zero days. Seeing your finished project in different color combinations inspires other makers, so please share your version on your favorite social platforms to help us build this community. You can find more accessible projects for your next afternoon session by browsing our full archive of free patterns available on the main blog page.